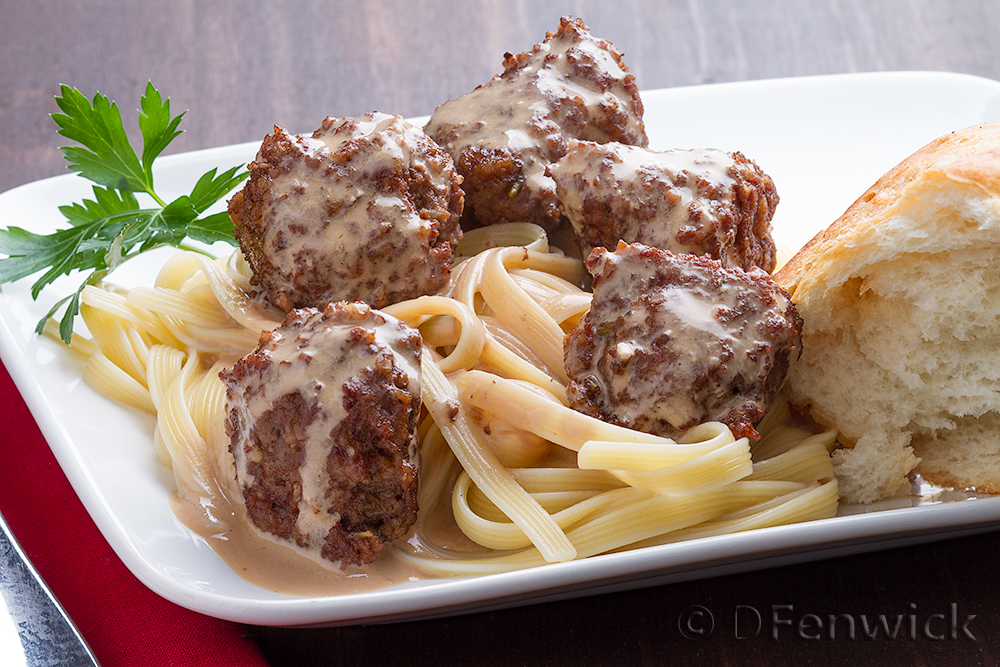
Turkey Meatballs in a Cream Sauce
With summer gatherings on the horizon, we’re sharing an easy dish that lets your guests decide what they want to eat. Turkey meatballs, sides of pasta and rice, a few sauces and your guests can mix and match their way to foodie heaven.
We’ll start with the meatballs, but if you are making sauces from scratch, you will want to make those first and then cook the meatballs.
For the meatballs, you need:
1 cup Rolled Oats
2 sprigs Rosemary
2 sprigs Oregano
1 teaspoon Salt
2 pounds lean ground Turkey
1 Egg, lightly beaten
Olive oil
1 cup red wine
32 oz. Beef Stock
Combine the first 4 ingredients in your food processor and pulse until the oatmeal has the consistency of course corn meal and the herbs are finely chopped. Place the turkey in a large bowl, add the dry ingredients and then the beaten egg. Combine with a fork, but do not over work the meat. You want it tender, not dense.
Add enough olive oil to lightly coat the bottom of your large skillet. Heat over medium heat until the skillet and oil are hot. Use a small scoop to make your meatballs. This will give you nice, even meatballs and they will be small enough to cook evenly. Place some meatballs in your hot skillet. Do not pack the meatballs into the skillet, give them a little room. Brown on 3 or 4 sides. Remove the browned meatballs from the pan and add another set. Don’t worry that they aren’t cooked through, we’ll take care of that once they are all browned.
Return all of your meatballs to your hot skillet. Add 1 cup of red wine and 4 cups of beef stock. Bring to a boil, turn down and simmer for 20 minutes or until the meatballs are cooked through.
Serve over noodles or rice with whatever sauces your guests enjoy. This makes 4 to 6 servings.
Here are a couple of ideas for sauces. You can also use the Teriyaki sauce we made here. If you are rushed for time, pick up some of your favorite sauces at the grocery store and doctor them to suit your taste. Your guests don’t need to know you didn’t slave over them for hours.
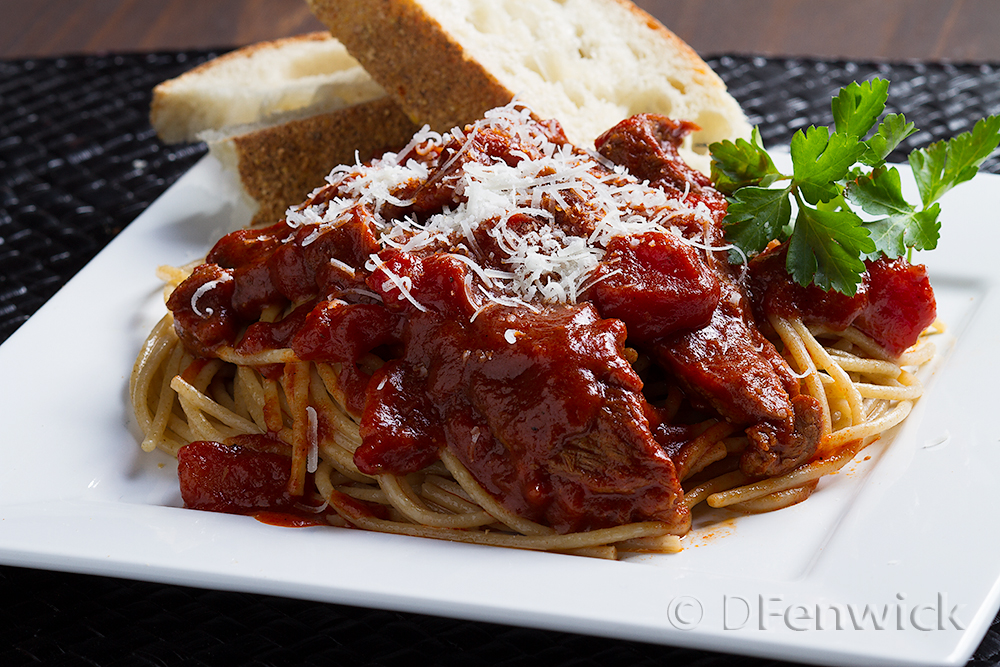
Simple, Quick Red Sauce
Quick red sauce
1 29 oz. can Tomato Sauce
1 14.5 oz. can diced Tomatoes
1 or 2 sprigs Rosemary
1 or 2 sprigs Oregano
1 tablespoon Honey
1/2 teaspoon Salt
1/4 teaspoon Pepper
2 fresh Basil Leaves
Remove the leaves from the herbs and chop finely. Combine all the ingredients in a sauce pot, bring to a boil, turn down to low and let simmer at least half an hour.
To serve, place some noodles in a small skillet, add a few meatballs and a little sauce. Gently stir or toss to combine over medium low heat. Add a little sauce over the top after you plate the meatballs and noodles.
Easy “Cream” Sauce
1 1/2 cups of the liquid from the simmering meatballs
3/4 cup tofu based Sour Cream
1 or 2 teaspoons of Corn Starch
Herbs, salt and pepper to taste
This sauce goes together very quickly. Make it just before you are ready to serve the meatballs.
Take 1 1/2 cups of the liquid from your simmering meatballs and place it in a sauce pan over medium heat. Add the tofu based sour cream (or if you want, real sour cream). Stir to combine. Take a little of this liquid and place it in a bowl. Add a teaspoon of corn starch and mix well. Return this mixture to your pan. Stir while it comes to a boil. If you want it thicker, repeat with another teaspoon of corn starch.
To serve, place the meatballs on a bed of noodles or rice and spoon some sauce over the top.
Feel free to add onion, garlic or whatever other spices and herbs you and your guests enjoy.
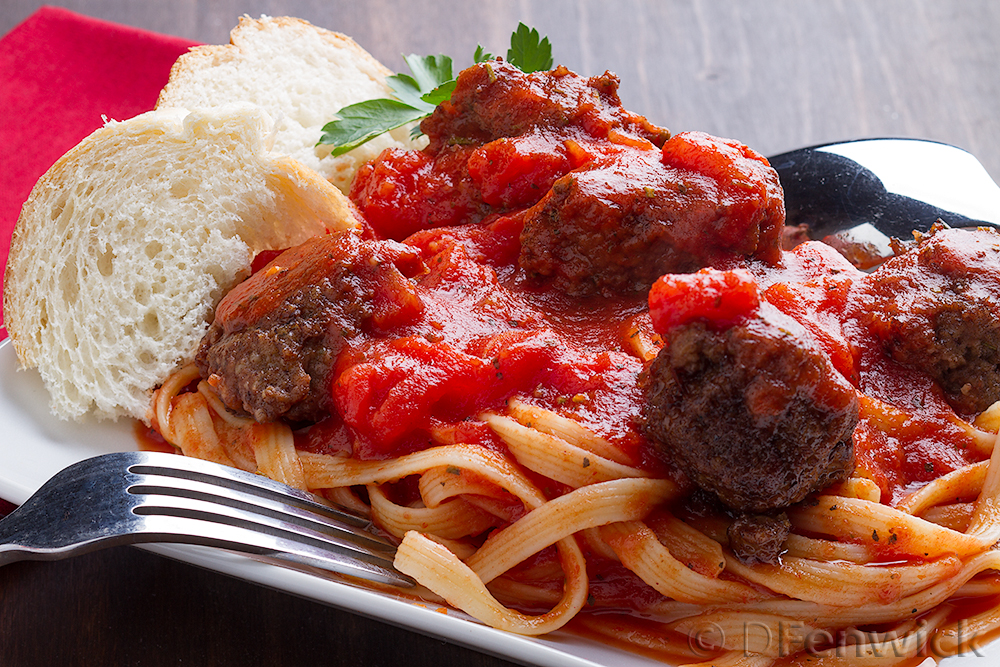
Turkey Meatballs in a Red Sauce