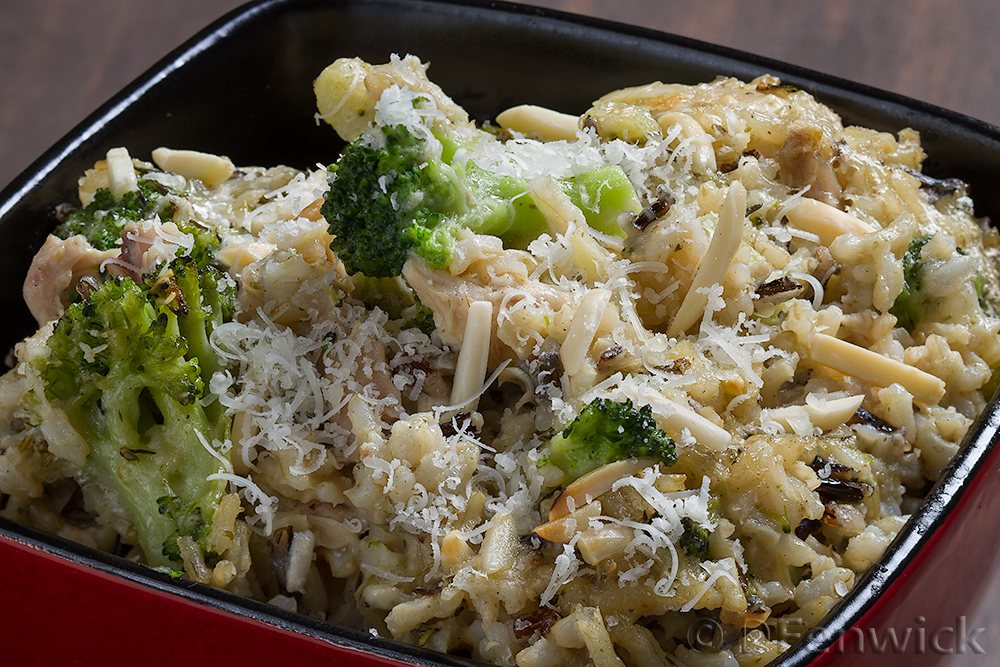
Wild Rice and Chicken Casserole
The holidays loom before us; many are already planning the meals that will be shared with friends and family. So today we’re offering a very customizable recipe that will benefit from holiday leftovers. Tonight we’re using store bought ingredients, but I’ll notate where you can use those yummy leftovers to your advantage and the relief of your refrigerator. Our best advice is as you stand in your kitchen channel your favorite Iron Chef and go for it!
Wild Rice & Chicken Casserole
Leg & Thigh meat from Roasted Chicken cut or pulled into small bite sized pieces (substitute: Turkey)
1 6 oz box Wild Rice mix, cooked (substitute: any rice with seasoning to taste)
1 10 oz package of broccoli florets (substitute: leftover crudité)
1 heaping teaspoon flour
1/2 cup chicken stock
1/2 cup almond milk (substitute: rice milk, milk, cream)
1/4 tsp rosemary
1/2 tsp thyme
1/2 tsp poultry seasoning
1 cup grated pecorino cheese (substitute: parmesan)
~3 pats of butter
optional: nuts (we used almonds but if you have walnuts that would work too)
We used a small convection oven set to 350 degrees and a casserole dish. Use some of your butter to coat the inside of the casserole dish. I use a sandwich sized zip baggie to hold a pat of butter and swirl around inside. Whatever is left of the pat will be added to your dish later – no waste!
While the oven is warming up, into a small saucepan add the remaining butter pats, stock, milk, rosemary, thyme and poultry seasoning, bring to a simmer. Remove from heat and whisk in flour. Set aside.
In your casserole dish gently combine the chicken pieces, cooked rice and the broccoli, then pour the stock mixture over the top. Sprinkle 1/2 the cheese over the top and add some nuts. Loosely cover with aluminum foil and bake 30 mins. Then remove the foil and bake an additional ~10 mins or until the top is browned.
Serve with a little extra cheese on the top. Enjoy!