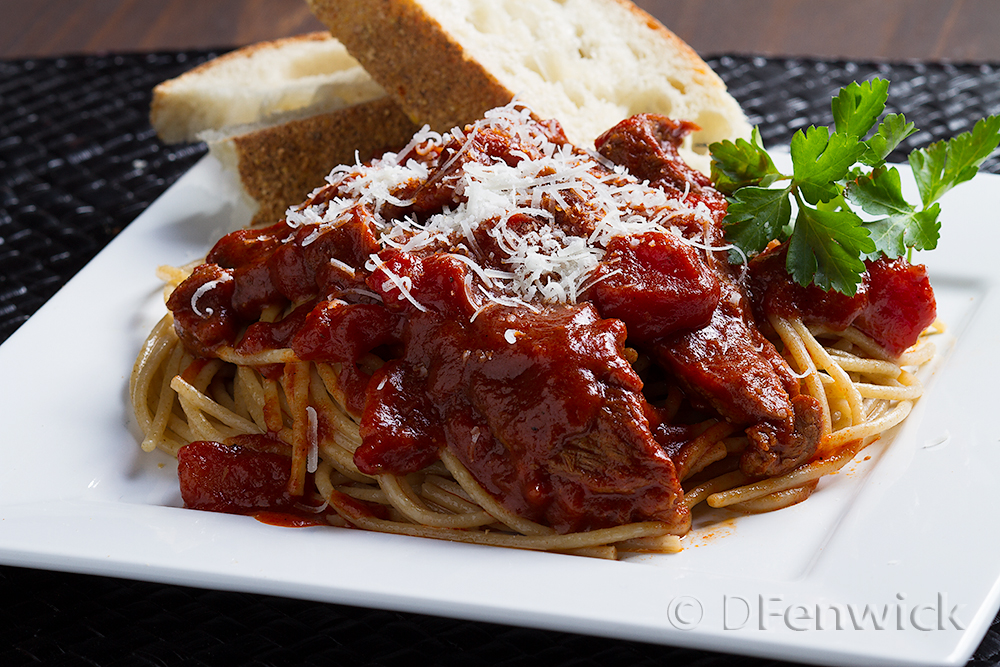
Beef with Pasta in Red Sauce
Red sauce is so versatile at mealtime, we’ve been playing around with making a better one, and I think we’ve hit on a winner. Give it a whirl in the pot and let us know what you think!
2 lbs Beef
Olive Oil
1 cup Red Wine
32 oz box of Beef Stock
12 oz can Tomato Paste
14.5 oz can Diced Tomatoes
2 teaspoons dried Rosemary
2 teaspoons dried Basil
1 teaspoon dried Oregano
1 teaspoon Cinnamon
1 teaspoon Salt
1 teaspoon Black Pepper
1/2 teaspoon Worcestershire Sauce
2 Tablespoons Honey
2 Tablespoons good Balsamic Vinegar
Start by slicing your meat into 1/8 inch strips and cutting the strips into bite sized pieces. Tip: If you cut against the grain it’s a lot more tender! Add a little olive oil to the bottom of your pot (a 3 or 4 quart pot with a lid) and heat the pot to medium on the stove top. Add the beef to the pot being careful not to over crowd it. Cook the beef in a couple of batches; cooking until lightly browned on both sides. Remove the beef and set aside (a bowl in your refrigerator is a good idea.). Add the red wine and beef stock to the pan and scrape the bottom of the pan with a wooden spoon to get all the good bits off the bottom – that’s where the flavor is! Add the tomato paste and stir to combine. Add all of the spices. (I put all of my spices in a coffee grinder and ground them to powder before using.) Add the honey and balsamic vinegar, stirring until well combined. Bring the mixture to a boil and reduce the heat to low. Cover and let the sauce simmer for an hour or so. Return the meat to the pot and bring the mixture back to a simmer, and leave it to simmer for another 15 or 20 minutes.
Serve over your favorite pasta and add a vegetable and some nice, crusty bread for dinner.