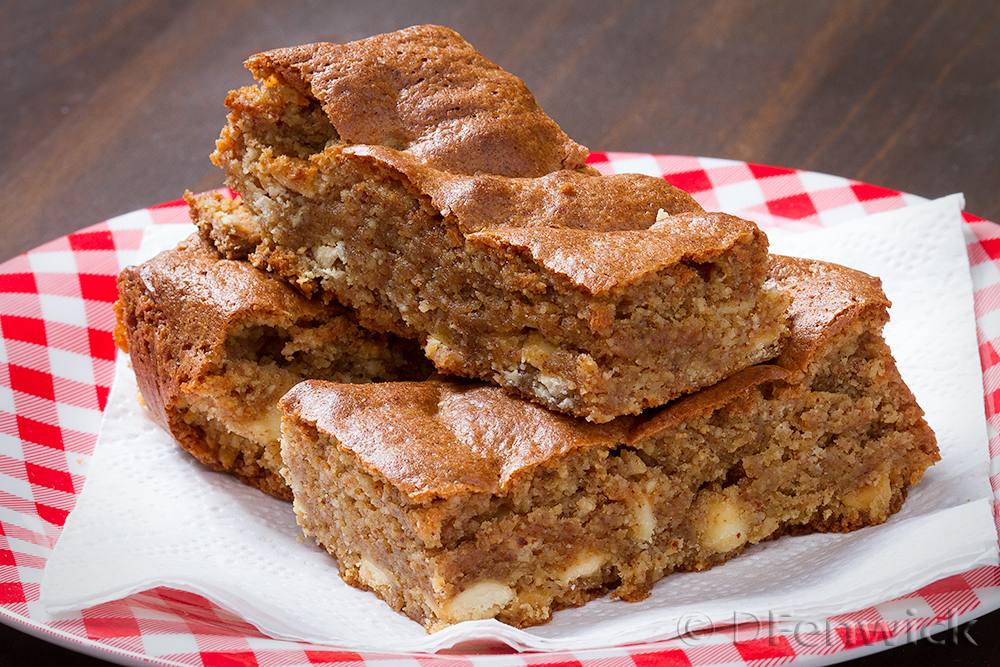
White Chocolate Blondie
Do blondes have more fun? The jury is still out on that question, but what I can say is that this “blonde brownie” is a sweet delight for the dairy free or alternative flour crowd. Indeed as far as this recipe goes, blondes ARE more fun!
Ingredients:
3/4 cup smooth Almond Butter
1/4 cup Coconut Butter (we used Organic Coconut Spread by Earth Balance)
2 large Eggs
1 teaspoon Vanilla
3/4 cup packed Brown Sugar
1/4 cup Soy Flour
3/4 cup Almond Flour
1 teaspoon Baking Powder
~ 1 cup of White Chocolate Chips (these can contain milk products – read the label carefully)
dash of Salt
Preheat your oven to 350 degrees F and prepare an 8″ square baking pan with parchment paper. The paper is not going to want to stay put so just place a coffee mug on it inside your pan while you get the batter ready. Right before you pour in your batter you’ll want to grease the paper slightly with either some coconut spread or cooking spray so it doesn’t stick.
With an electric mixer cream the first two ingredients. Next add the eggs, vanilla and sugar. Mix well. In a separate bowl combine the dry ingredients (except the chips), then add to the wet and mix gently. Fold in your chips making sure they are distributed throughout the batter then pour into the prepared baking dish.
Bake for about 30 mins and check the firmness with a toothpick. It won’t come out clean (it’s hot almond butter!), but the toothpick shouldn’t be heavily coated. Another way to check is bump the pan lightly and check the jiggle. There shouldn’t be much in the middle, but if it looks jiggly, bake another 5 mins then remove and cool on a rack about an hour. Remove the blondie from the pan, cut and serve. Enjoy!