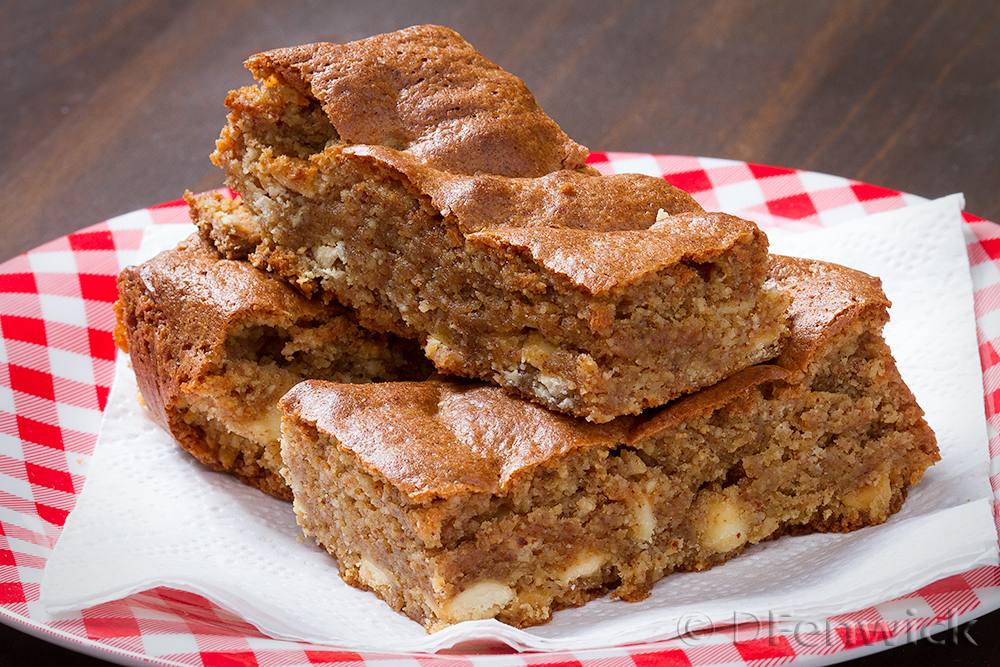
White Chocolate Chip Banana Bread
Dad’s Day has come and gone, and I usually bake a loaf of yumminess to send home with the Dad-in-Law at the end of the evening. This year, I had the remains of a bag of white chocolate chips (from last week’s blondies recipe) so I decided to add them to a favorite banana bread recipe.
Did you know bananas are some of the most thrown out food in our households? Sure they get brown and squishy – but that’s just sugary goodness for baked banana bread. So before you throw out those little darlings – try this recipe (even if you don’t have the chips to add to it) and give it to someone you love and make their day a special one!
Preheat oven to 350 degrees F. Prepare two loaf pans by buttering the inside evenly.
1 cup softened Butter
2 cups Sugar
2 teaspoons Vanilla
4 beaten Eggs
2 cups mashed Bananas (the browner sweeter ones)
Sift together:
4 cups Flour
2 tablespoons Baking Powder
1 teaspoon Salt
1 cup White Chocolate Chips
In a mixer, cream the butter and sugar well. Add the vanilla and eggs and mix again, then add bananas. Now mix in half the sifted ingredients, when it starts to incorporate evenly, add the remaining dry ingredients. Remove the bowl from the mixer and fold in the chips. Pour half the mixture into each pan and bake about 45 mins. Check with a toothpick, if it comes out cleanly, you’re done, otherwise, cook in increments of 5 or 8 mins until it passes the toothpick test.
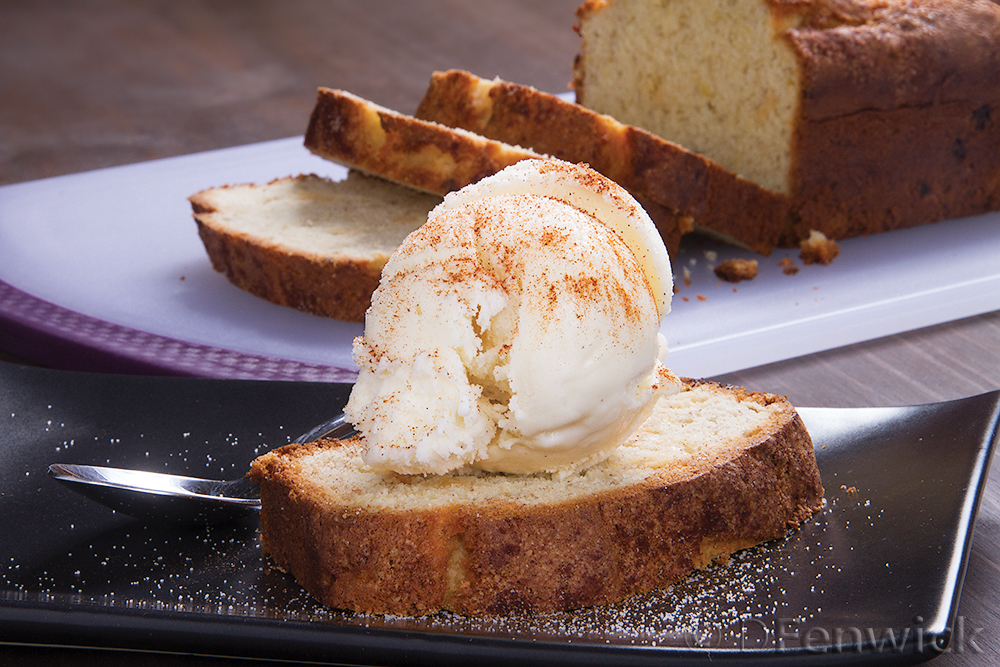
Let cool 20 or 30 minutes, loosen the edges in the pan and turn out onto cooling racks. Let cool and enjoy. For a little extra fun, serve with a scoop of vanilla ice cream for dessert.