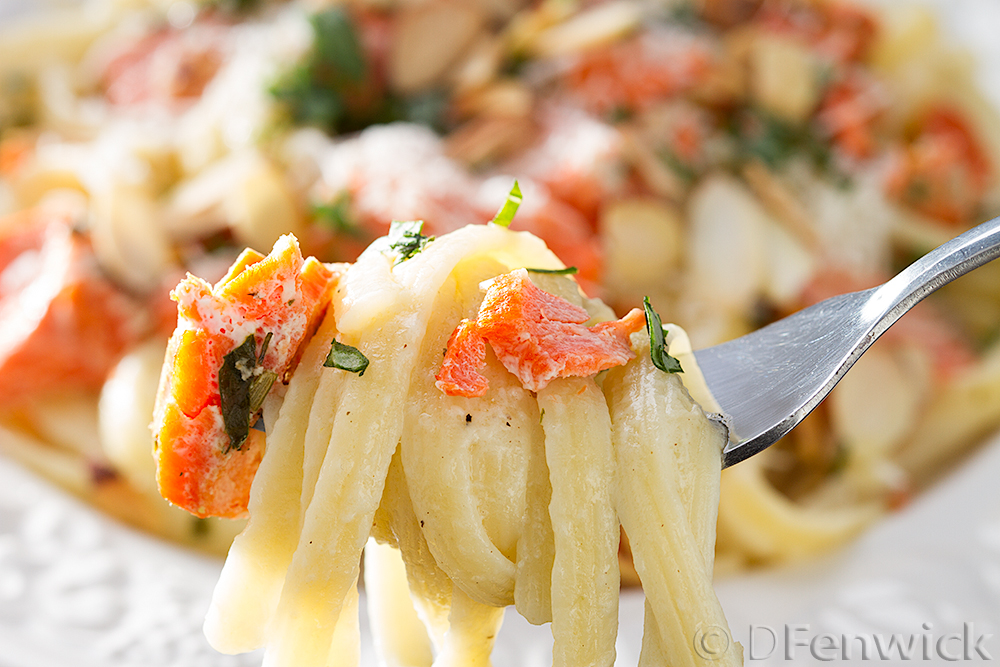
Creamy Noodles with Salmon
1 medium shallot
4-6 fresh basil leaves
1 cup white wine (use a wine you’d serve to guests)
1 cup grated Parmesan or Pecarino cheese (fresh is definitely best)
1 egg, beaten
8 oz. fettuccine (note: reserve one cup of the water used to boil the pasta too)
salt and pepper to taste
8 to 12 oz. salmon, cooked
a few slivered almonds or a few pine nuts
This dish goes together very rapidly. The single longest part is cooking the noodles.
Cook your salmon however you prefer. It can be poached, broiled, grilled, etc. This can be done ahead of time and this is a good dish to make if you have left over salmon from a previous dinner. Canned salmon would also work.
Start the water for your noodles. Be sure to salt the water and add a little oil so the noodles don’t stick together.
Chop your shallot and the basil.
Heat a skillet over medium heat. Add a little olive oil. When the oil is hot, add the shallots and sauté until translucent. Add 1 cup of white wine and the basil, reduce the heat to low and simmer until the wine is reduced by half.
While the wine is simmering, cook your noodles. You want them chewable but firm, not mushy.
Put your almond slivers or pine nuts in a small skillet over medium heat and toast, carefully. They can burn if you don’t keep an eye on them. Remove pan from the heat once the nuts are toasted.
When the noodles are done, do not rinse, just add them to the wine sauce. (Also, don’t forget to keep ~ one cup of the pasta water!) Toss noodles lightly in the sauce. Now, add your cheese and half a cup to a cup of the water you reserved from cooking the pasta. Stir in the cheese (it will melt into the sauce.) Add your beaten egg and immediately stir and toss with the noodles so it doesn’t turn into scrambled egg. Continue to stir for a couple of minutes. The egg will thicken the sauce, giving you a nice creamy consistency. If the sauce gets too thick, add a little more pasta water. Add salt and pepper to taste.
Serve by placing the noodles on a plate and top with chunks of salmon. Top that with a bit of grated cheese and toasted almond slivers or pine nuts and a little fresh chopped basil.
If you want less meat, don’t like fish or want a side dish, you can top the noodles with vegetables instead of the salmon.
Enjoy!