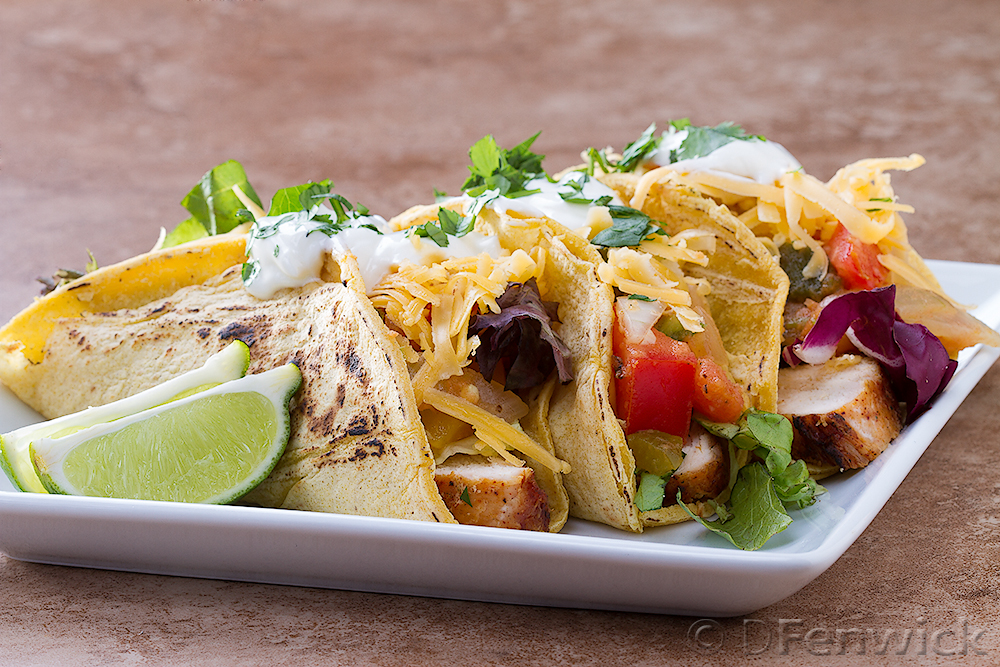
Grilled chicken tacos
With summer upon us and ye olde bbq dusted off, this week’s recipe is a delightful grilled chicken taco with lots of fresh fixin’s nestled in corn tortillas. This recipe takes a little extra effort, but it’s worth the wait – Let’s get cookin’!
Taco Seasoning:
1 Tablespoon Chili Powder
2 teaspoons Salt
1 teaspoon dry Oregano, crushed
1/2 teaspoon Cumin
1/2 teaspoon granulated Garlic
1/2 teaspoon granulated Onion
1/2 teaspoon Paprika
1/4 teaspoon ground Black Pepper
Combine the spices and set aside. (Can be stored in a spice bottle for a long period of time to use with beef, ground beef, chicken, etc.)
Salsa:
6 Roma Tomatoes (3 of these will be roasted)
1 Green Bell Pepper (to be roasted)
1 Yellow Bell Pepper (to be roasted)
3 Jalapeno Peppers (2 of these will be roasted)
1 medium to large Onion (will be roasted)
4 cloves Garlic
1 Lime
Salt
Olive Oil
Salsa and BBQ’ing the veggies:
While your BBQ is heating. Halve and seed three roma tomatoes and both bell peppers. If you don’t want a really spicy salsa, also halve and seed your jalapeno peppers (otherwise, you just leave those seeds in there!). Peal the onion and cut into 8 to 12 wedges. When the bbq fire is hot, make a small pan out of heavy aluminum foil and place the three seeded tomatoes, both bell peppers, 2 jalapenos and your onion into the pan. Add a bit of olive oil to coat and prevent sticking, sprinkle with salt and place on a rack over your fire. Cook for about 10 minutes then turn everything over and cook for another 10 minutes or until the peppers are charred and the onion is mostly cooked (do not cook the onion or peppers to mush, just until a bit tender.)
While the peppers and onion are grilling cut up your remaining 3 tomatoes and place in a bowl. Finely dice your remaining jalapeno and add it to the tomatoes.
When the peppers and onions are cooked, set these aside in a bowl covered with food wrap for about 10 minutes, then remove any skin that has been loosened by the bbq process. Place the tomatoes and half the onion in a blender or food processor. Add one of the roasted jalapenos and the garlic. Blend until mostly smooth.
Take the remaining onion and the bell peppers and cut into about 1/4 inch pieces, place these in a bowl. Finely mince the remaining roasted jalapeno and add to the bowl. Then add the puree from above and stir gently, followed by the juice of one lime and stir. Add salt to taste. Let sit at least half an hour before assembling your tacos.
Note: this will get spicier as it sits.
Grilling the chicken:
2 1/2 pounds boneless, skinless Chicken Breast (boneless thighs would also work well)
Taco Seasoning (from recipe above)
2 Tablespoons Olive Oil
Place one breast at a time into a ziplock bag and fold the end over (do not seal). Pound the chicken flatter with a meat mallet. This will help ensure more even cooking.
Sprinkle the chicken with your taco seasoning and place into a zip lock bag. Add the olive oil. Squeeze the air out of the bag and seal. Squeeze around so the oil covers all of the meat. Place in your refrigerator for at least 2 hours to overnight.
Grill over direct heat for 10 to 15 minutes per side (depending on how hot your fire is) until the chicken is done. Place on a plate and cover with foil for 10 minutes. Slice the chicken across the grain.
Almost there… Taco time!
Salsa
Grilled Chicken
Sour Cream
Tortillas
Shredded Cheddar Cheese (or Cotija would be good too!)
Lettuce
Fresh Cilantro
To assemble your tacos, heat your tortillas in a skillet, lightly brown but do not make crispy. Place a few pieces of chicken into the tortilla, add lettuce, salsa, cheddar cheese and sour cream. Sprinkle a little chopped, fresh cilantro over the top. Serve immediately.
Enjoy!