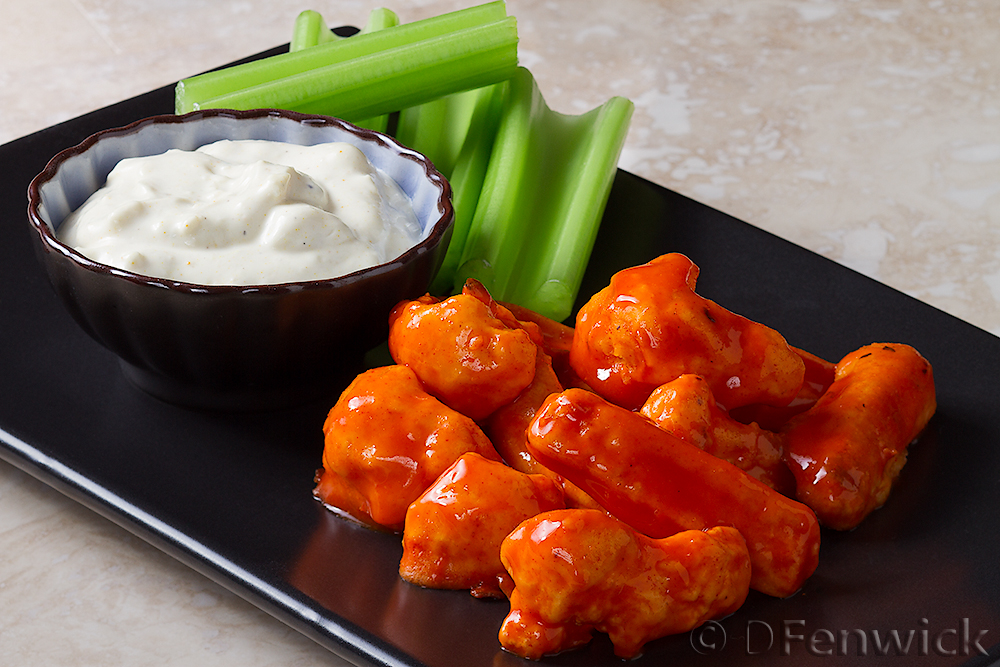
Veggie Buffalo Wings
News from the grapevine is that there’s a Superbowl this weekend. To be honest, I’m not a sports fan, but I AM a food fan. Unfortunately, this Snackasaurus can’t quite keep up like I used to, so I’m re-imagining the delicacies of my youth. Tonight, we’ll start with Buffalo Wings. This is a wonderful little recipe that will offer a vegetarian option of an old game day standard. Enjoy!
First let’s make the blue cheese dip then the flavors can mingle while we work on the veggie “wings”:
1/2 cup sour cream
1/2 cup mayonnaise
1 tsp Worcestershire sauce
1 tsp garlic powder
1/2 tsp seasoned salt
1/2 tsp salt
1/2 tsp dry mustard
1/4 tsp turmeric
4 0z blue cheese (crumbled)
a bit of pepper to taste
Mix the sour cream and mayo together well, then blend in all the remaining ingredients. Cover and set aside. Tip: I would recommend purchasing a wedge of blue cheese and crumbling yourself, but do whatever is easiest for you. Additionally, I add turmeric to just about everything – it helps with arthritis in my fingers, and Alzheimer studies have shown its benefits to the brain. Win win in my book!
Veggie “Wings”
Cauliflower florets (bite size)
Baby carrots (halved lengthwise)
Parsnips (cut like French frie wedges)
Frank’s Red Hot Buffalo Wing Sauce
1 cup water
1 cup flour
1/4 tsp salt
Baking spray
Heat oven to 450 deg F. Wash, dry and cut your vegetables. If there are other vegetables that you prefer and roast well in the oven then definitely go for those – variety is the spice of life!
Now for the production line – in a bowl mix your water, flour and salt well. Then prepare a roasting pan, or cookie sheet with parchment paper OR a Silpat baking mat. In small batches place your veggies into the flour mixture, shake off excess batter then place on baking sheet. Allow space between all your veggies. (It’s best to just use your fingers, wielding spoons for this stage is a waste of time.)
When your pan is full take your baking spray and lightly spray across the tops to get them a little crunchy. Bake in oven for approximately 12 mins or until veggies begin to brown. (My oven is convection, so you may have to adjust to your oven type). When they begin to brown, remove from oven and place veggies into a bowl, add enough Wing Sauce to coat lightly, and return to baking pan, then oven. Set the “wing sauce bowl” aside, you’ll be using it again! Cook until sauce begins to bubble on the veggies, about 3-4 minutes.
Remove from oven and return to the bowl of wing sauce. Lightly coat the veggies again and serve immediately with blue cheese dip. Enjoy!