Adventures in Thyme

Our adventures in food

  • Home
  • Contact

Empire Biscuits

October 1, 2015 by Ginger Leave a Comment

Empire Biscuit by D Fenwick, http://dfenwickphotography.com

Empire Biscuit


As the weather changes in the Fall I start getting melancholy for my life back in England.  I miss the “old world”, the charm of cobbled streets, watching canal boats float lazily thru the locks and of course afternoon tea.  One of my fondest memories was nibbling Empire Biscuits along with a lovely cup’a tea.  Today’s recipe takes me back to that time so long ago when I could walk thru Shakespeare’s town, and stroll thru the hedge maze at Hampton Court.  Enjoy!

Preheat your oven to 325 degrees F.  I recommend using a printed silicone baking mat with cookie circles on it.

Cream together:
1 cup softened Butter (two sticks of butter)
1/2 cup Sugar

then add:
1 tsp Vanilla
1 Egg

finally mix in:
1 1/2 cups All Purpose Flour
1/2 cup Self Rising Flour

Strawberry Jam
Powdered Sugar (make a glaze out of ~ 2 cups and a bit of water)
Maraschino Cherries cut into fourths

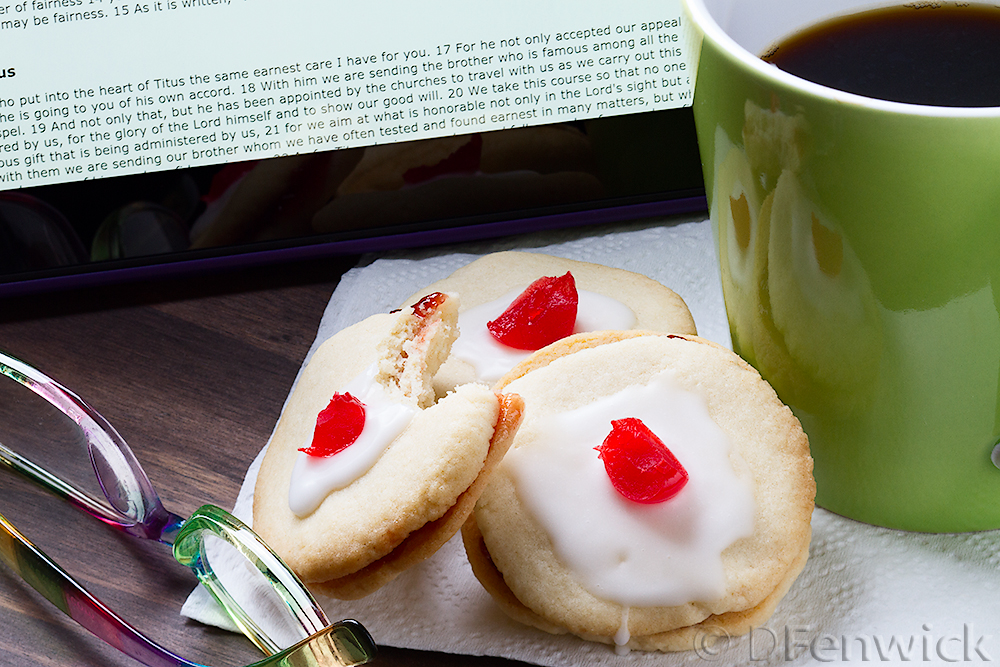
The batter will be slightly sticky.  If you feel you can flour a surface, roll out the dough and cut circles – go for it!  I tend to flour a surface and roll the batter into the size of a long zucchini.  I then pinch off ~ tablespoon roll it into a ball and then carefully flatten it onto a cookie circle on my silicone mat.  They come out fairly uniform and you can tell from the picture they don’t look too bad!

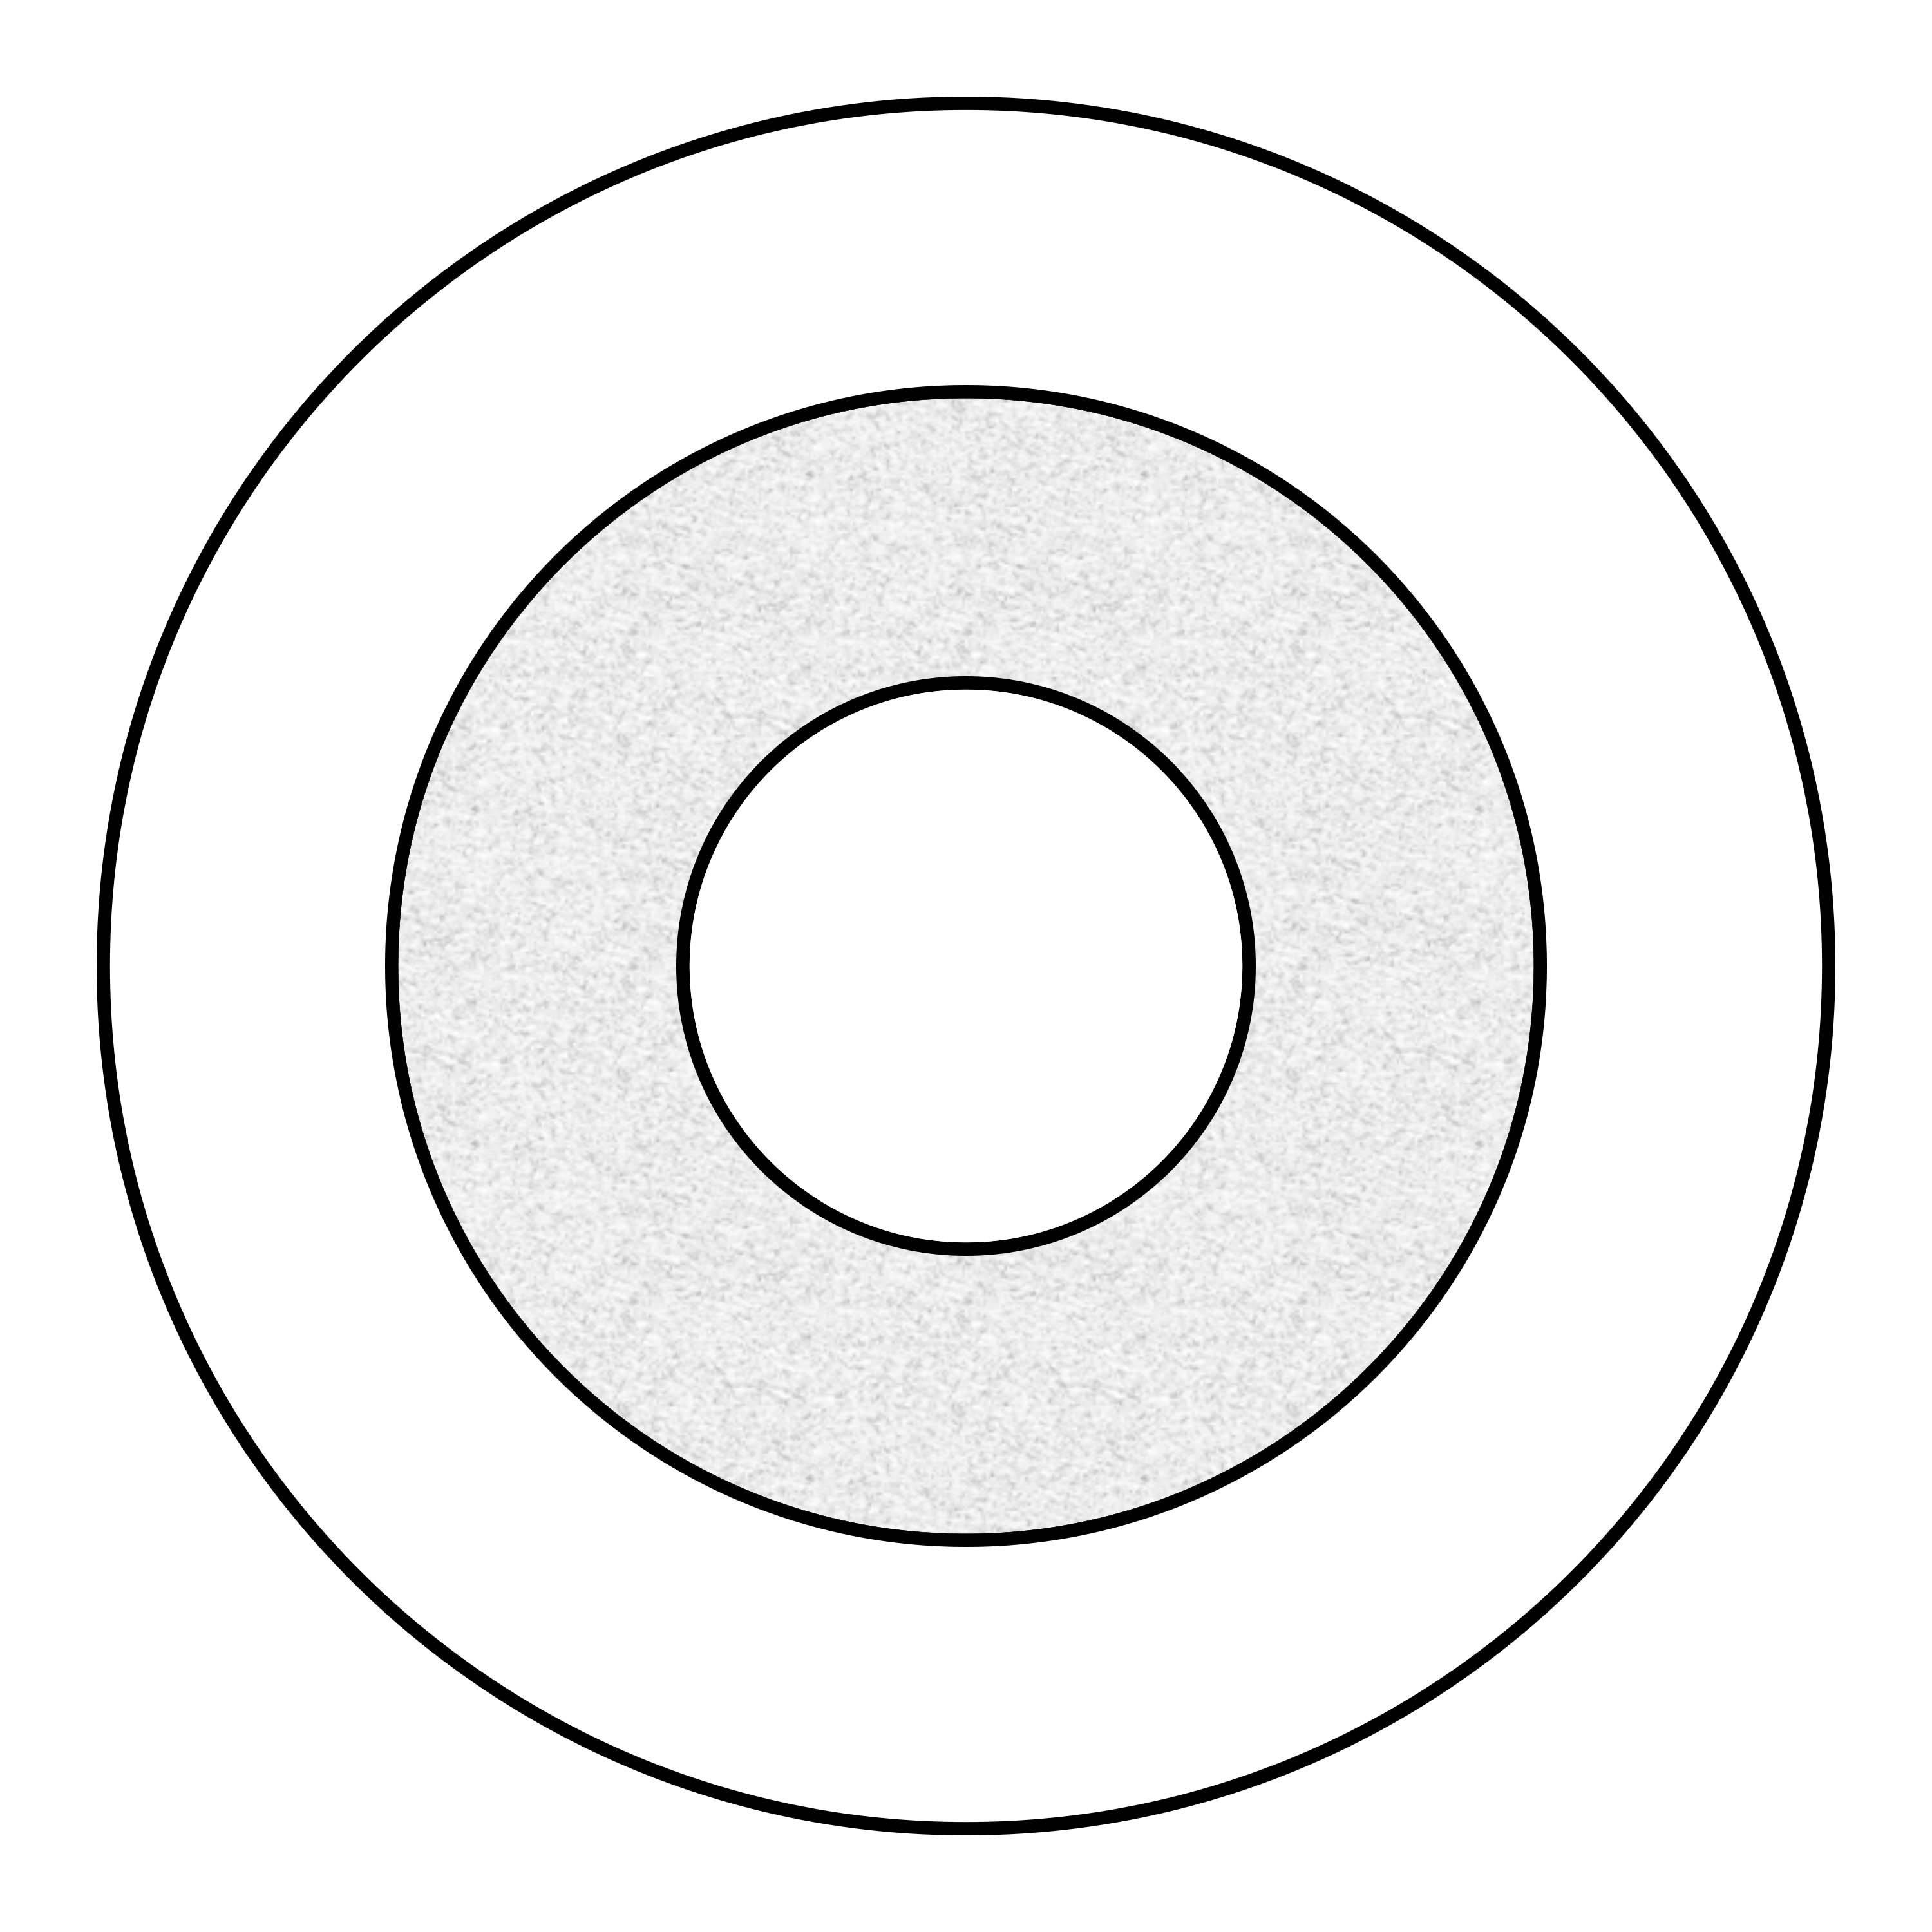
Bake about 9-10 mins or until the edges begin to brown.  Once cool put a little strawberry jam on the “wrong” side of the cookie and then place a second cookie onto it so you’ve got a strawberry cookie sandwich.  With the back of a small spoon place a circle of glaze on the top of your cookie sandwich and top with a piece of cherry.

They are so delicious.  I need an intervention… 


Filed Under: Photo, Recipe Tagged With: cookie, Cookies, dessert, Empire Biscuits, snack, strawberry

Strawberry Jell-O Pie

August 19, 2015 by Dan Leave a Comment

Strawberry Jello Pie by D Fenwick, http://dfenwickphotography.com

Strawberry Jell-o Pie

Here’s a pretty dessert that tastes as yummy as it looks!

1 pound fresh Strawberries
1 1/3 cups boiling water
1 6 oz. package Strawberry Jell-O
1/2 cup cold water
ice cubes
16 oz. Cool Whip
1 Graham Cracker crust (1-9 inch or 2-8 inch)

Stem and slice your strawberries. Set aside.

Add the boiling water to the Jell-O. Whisk for 2 minutes to be sure all the Jell-O is dissolved. Take 1/2 cup cold water and add enough ice cubes to make 1 cup. Stir into Jell-O. Stir until the ice cubes dissolve. Place into the refrigerator until the Jell-O begins to thicken. Remove from the refrigerator and whisk in the Cool Whip then whisk in the Strawberries. Place into the pie crust and mound up as high as you’d like. (This will make 2 8 inch pies or one 9 inch and some extra you can place in a bowl.) Refrigerate for several hours.

Serve cold.

Filed Under: Photo, Recipe Tagged With: Cool Whip, dessert, Jell-O, Jell-O Pie, pie, strawberry

Trifle

July 30, 2014 by Ginger 1 Comment

Banana, strawberry, blueberry trifle by D Fenwick, http://dfenwickphotography.com

Banana, strawberry, blueberry trifle

During my years in England I ate Trifle like there was no tomorrow, because eventually “tomorrow” was going to come along and I’d be returning to America.  I loved the silky custard and the cake, soft and juicy from the fruit.  It was whole milk there, with lots of cream and no care of calories.  Well, 30 years later, it’s time to worry about those things, as well as dairy intolerances.  So my little Trifle described below should really be used more like a roadmap than a recipe.  Use the type of custard that you like, or instant vanilla pudding, perhaps heavy whipped cream instead of imitation cream topping.  The fruit also should be what appeals to you, and with so much available in the market right now, it’s perfect season to sit a’spell and indulge in a little Trifle.

Basically, a Trifle needs a variety of fresh fruit, whipped cream, cake, custard and alcohol (which is optional, Sherry is “traditional”).  Our Trifle above uses Bird’s Custard (a powdered product from England, you can find it at most Raley’s or World Markets).  Because dairy free is important at my house, we used Almond milk to make the custard and a dairy free topping.  Jellies can also be used in lieu of, or in addition to fruit, but we used 5 bananas, 3 cups of sliced strawberries, 3 cups of fresh blueberries.  We used pound cake, but you could also use angel food cake, or yellow cake, etc.

The custard needs to be cooled prior to making this dish, but once you’ve got all your ingredients prepped (fruit sliced, cake cubed or thinly sliced for layering) you’re ready to go.

In our photo we layered as follows: cake-fruit-custard, cake-fruit-custard, whipped topping; but you can layer as your tastebuds direct.  Maybe you want to soak your cake in Sherry before you layer, maybe you’d prefer a layer of whipped cream in the middle of the layers – do what sounds good.  Enjoy!


Filed Under: Photo, Recipe Tagged With: Banana, blueberry trifle, strawberry

Strawberry Ice Cream

July 16, 2014 by Dan 1 Comment

Strawberry Ice Cream by D Fenwick, http://dfenwickphotography.com

Strawberry Ice Cream

Sometimes you just have to give in to your urges, and today we succumb to ice cream’s siren song.

Homemade ice cream has been made so much easier with “modern” ice cream makers.  Do you remember the ones we used way back when with rock salt, and hand cranked it?  Well, today we can use electric ice cream makers and have our ice cream in about 30 mins of churning.  So, let’s get cookin’!

4 cups Goat Milk or substitute 2 cups regular Whole Milk and 2 cups Half and Half
1 1/2 cups Sugar
6 fresh Egg Yolks
1 pound Strawberries
1 Vanilla Bean

Separate 6 eggs so you have 6 fresh yolks. (You can keep the egg whites for another project if you wish.) Beat the egg yolks in a bowl until smooth.

Hull the strawberries. Place 1/2 pound of strawberries and 1/4 cup of sugar into a blender and puree. Take the remaining half pound of strawberries and cut them into small pieces, add 1/4 cup of sugar, stir and refrigerate until ready to use.

Combine 2 cups of milk and 1 cup of sugar in 2 quart pot. Halve your vanilla bean and scrape out the seeds. Add the bean and the seeds to the milk mixture. Heat over low heat, stirring regularly, until the sugar is dissolved and milk begins to steam. Note: Do not leave milk on the stove unattended, if it boils over it can cause a fire.

Add half a cup to a cup of the milk mixture to the eggs, a little at a time. Whisk in the milk as you add it. Keep stirring and add only a little at a time. You want to temper the eggs, not make scrambled eggs. Once this is combined, add the egg mixture back into the hot milk, whisking to blend thoroughly. Cook until it begins the thicken and coats a spoon. Remove from the heat and pour through a strainer into a mixing bowl. Now add the remaining 2 cups of goat milk or 2 cups of half and half and then add the pureed strawberries. Blend well. Place the mixture in the refrigerator until chilled (a couple of hours at least.)

Once the mixture is cool, place in an ice cream maker and freeze per manufacturer’s directions. Once frozen, mix in the cut up strawberry pieces (do not add the juice, it will make the ice cream freeze strangely) and place in your freezer until firm.

For a variation, you can substitute any summer fruit for the strawberries.

Filed Under: Photo, Recipe Tagged With: dessert, ice cream, strawberry

Berry Filled White Cake

July 9, 2014 by Dan Leave a Comment

Berry filled white cake by D Fenwick, http://dfenwickphotography.com

Berry filled white cake

Doesn’t that picture look awesome!  A triumvirate of cakey goodness – three delicious layers of divinely concocted cake with fruit.  It’s healthy – seriously!  Look at the fruit, and of course there’s eggs, and milk and…  Just eat it – you’ll love it and not care about the calories.  Let’s get baking!

Berry Filled Cake

Cake

2 cups white Sugar
1 cup (2 sticks) Butter, at room temperature
4 Eggs
4 teaspoons Vanilla
3 cups all purpose Flour
4 teaspoons Baking Powder
1 1/2 cups Milk (we used goat)

Preheat your oven to 350 degrees. Line and flour 3 9 inch round cake pans.

Sift together your flour and baking powder. Set aside.

Cream butter and sugar in mixer. Add eggs, one at a time, beat each one in before adding the next. Add vanilla. Beat until blended in.

With your mixer at a lower setting (if you use a high setting you’ll have flour everywhere) add your dry ingredients, 1/4 at a time. Mix well. Add milk and mix until smooth. If it doesn’t look silky, add additional milk 1 tablespoon at a time, until batter is smooth. This batter is thick – be warned.

Put 1/3 of your batter into each pan. Spread so it is level and evenly distributed in the pans.

Bake at 350 degree F for 30 minutes. If a toothpick stuck in the middle of the cake comes out clean, remove from the oven. If not, cook another 5 minutes and check again. Repeat as needed. (Note: cooking times will vary depending on your oven.)

Cool the cakes for a few minutes, then turn out of the pans and cool on a rack until room temperature.


Strawberry Glaze

2 cups sliced Strawberries (fresh are definitely best – and they’re in season!)
1 cup Water
1 cup white Sugar
4 tablespoons Corn Starch

Combine sugar and water in 2 quart sauce pan. Heat over medium low heat, stirring occasionally until sugar dissolves completely. Turn heat down to low and add the strawberries. Cook, stirring gently, occasionally, until the juice from the strawberries is well incorporated into the syrup. (30 to 45 minutes.) Strain out the sliced strawberries and let the syrup cool to room temperature or so. Carefully mix in your corn starch so you have no lumps. Return the syrup to your pan and heat at medium high until it thickens and begins to bubble. Stir constantly. Once done, remove from heat and cool to room temperature.


Buttercream Frosting

4 sticks (2 cups) Butter
6 cups powdered Sugar
2 teaspoons vanilla
Milk

Cream your butter in your mixer until light and fluffy. Add the powdered sugar, carefully so you don’t get it all over the kitchen, and mix until blended and smooth. Add milk 1 tablespoon at a time until you get a spreadable consistency.


Berry Filling

2 cups sliced Strawberries
2 cups fresh blueberries (or raspberries / blueberries / insert favorite fruit here)
Strawberry Glaze (see above)

Combine your fruit with some of your strawberry glaze so that it coats the fruit.


Assemble your cake

First, make a paper template for the area you will be cutting out of your cake. (You will be removing the grey area in the picture.) Make the template to the ring has a 3 inch inside diameter and a 6 inch outside diameter. Place the template, centered, on one layer of your cake and carefully cut around the inside and outside of the template. The area you are removing is where the berry filling will go.

Layer template

Place a whole layer on your cake plate and cover the top with a layer of frosting. Add the center and outside rings from the layer you cut into rings above. Carefully add filling so that the fruit and glaze fills the ring. Now cover this layer, including the filling, with a layer of frosting. Place the remaining whole layer on top. Frost the cake with your remaining frosting. Serve in slices, topped with some of your remaining filling and extra glaze as desired.

Store in the refrigerator. Eat within a few days.

Filed Under: Photo, Recipe Tagged With: berry, blueberry, buttercream, buttercream frosting, cake, dessert, filled, strawberry, white cake

Recent Posts

  • Hard Cider Brittle
  • Jalapeno Artichoke Dip
  • Beef and Pasta in Red Sauce
  • Steak – One Pan Meal
  • Grain Free “Strawberry Shortcake” Cookies
  • Meatballs with options for everyone at your party
  • Chicken for game day
  • Spaghetti with sliced beef
  • Baked Salmon in Puff Pastry
  • Christmas Dessert for Two

ARCHIVES

  • November 2016
  • June 2016
  • May 2016
  • March 2016
  • February 2016
  • January 2016
  • December 2015
  • November 2015
  • October 2015
  • September 2015
  • August 2015
  • July 2015
  • June 2015
  • May 2015
  • April 2015
  • March 2015
  • February 2015
  • January 2015
  • December 2014
  • November 2014
  • October 2014
  • September 2014
  • August 2014
  • July 2014
  • June 2014
  • May 2014
  • April 2014
  • March 2014
  • February 2014
  • January 2014
  • December 2013
  • November 2013
  • October 2013

Categories

  • Cooking Information
  • Event
  • Photo
  • Recipe
  • Recipe Modifications
  • Restaurant

Meta

  • Log in
  • Entries feed
  • Comments feed
  • WordPress.org

Copyright © 2025 · Foodie Child Theme by Shay Bocks · Built on the Genesis Framework · Powered by WordPress