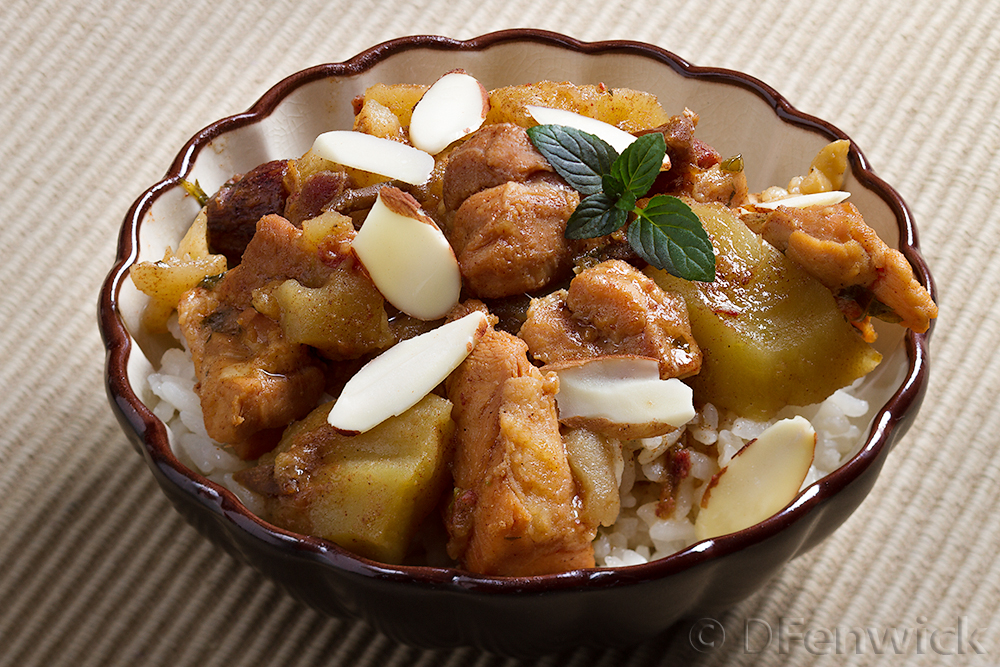
Apple Chicken Tagine
An old proverb suggests that a man’s affection is most quickly gained thru food, undoubtedly good food being the key. I would add the caveat that creating good food is easily attained by using a tagine! You might remember a few recipes back that we got one – and love it! (If you do not yet own one, you can still create the yumminess with a large skillet and well fitting cover.)
This delicious recipe uses apples, so bountiful right now, and chicken thighs making it a low cost meal with big flavor – enjoy!
2 tablespoons Olive Oil
8 Chicken Thighs, boneless
4 large tart Apples (6 to 8 small)
2 cups Chicken Stock
1/2 to 3/4 cup chopped Dates
2 teaspoons ground Cinnamon
1/2 teaspoon ground Nutmeg
1/2 teaspoon ground Allspice
1 teaspoon chopped, fresh Mint
Slivered Almonds
Sprigs of Mint
Place 2 tablespoons of olive oil in your tagine and heat over medium heat.
While the oil is heating, cut your chicken thighs into bite sized pieces. (You could substitute lamb if you prefer.) When the oil is hot, place the chicken into the tagine and lightly brown, cooking off most of the extra liquid from the chicken.
While the chicken is cooking, peel and core your apples. Cut them into bite sized pieces. Once the chicken is browned, add the apple to the chicken, then add the chopped dates. Stir. Now add 2 cups of chicken broth, 2 teaspoons of cinnamon, 1 teaspoon chopped fresh mint and a half teaspoon each of allspice and nutmeg. Stir. Bring to a simmer and then turn down to low to medium low and let simmer for an hour.
Serve over rice and garnish with sliced almonds and mint sprigs.