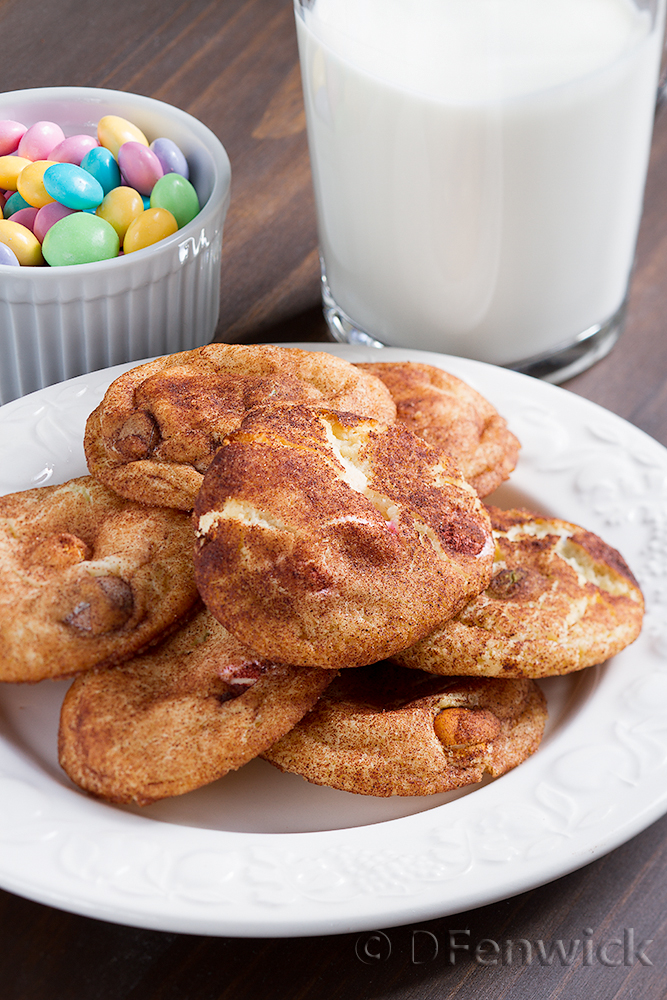
Chai Pumpkin Cookies
I’d like to be able to say that these cookies are healthy – think of all that pumpkin! It’s a fruit for cryin’ out loud! But alas, these cookies are only delicious, I can’t claim they are healthy. No matter though, grab a cup of coffee, or a steaming cup of Earl Grey and enjoy!
For the cookies:
1. Begin by setting your oven to 350 degrees F.
2. In an electric mixer whip the following until it’s “light and airy”:
1/2 cup sugar
1/2 cup firmly packed brown sugar
1 cup softened unsalted butter
3. To the mixture combine well:
1 cup canned pumpkin
1 beaten egg
1 tsp vanilla
4. The dry ingredients are next, combine these together and then add the dry mixture to your bowl and mix well:
2 Tablespoons Chai Powder (I use David Rio’s Tiger Spice Chai purchased at World Market)
2 cups all purpose flour
1 tsp baking powder
1 tsp baking soda
1 tsp cinnamon
1/4 tsp salt
Spoon generous tablespoons onto a baking sheet (I use nonstick baking mats in mine) and bake for 10 mins. These cookies don’t really spread out, but remain pretty much in the “footprint” you put them in. You’ll know they are done when the cookie gets a golden brown appearance on it’s edges.
As they are cooling it’s time to make the Kahlua frosting:
In a saucepan over medium heat, bring 1/2 cup firmly packed brown sugar and 3 Tablespoons of butter to boil. I recommend bringing it up to boil slowly, but stir constantly, you don’t want the sugar to burn in your pan. Once it’s bubbling begin to take note of the hot mixture, it will begin to get very thick, remove from heat. This should only take about 30 seconds or so after the boil (at least on my stove). Set the saucepan aside and let the mixture cool (about 10 mins).
Now add 2 Tablespoons of Kahlua and 1/4 cup of milk. Stir well, eventually the sugar will incorporate evenly into the mixture. At this point you’ll need to add powdered sugar until the frosting gets thick enough to almost spread. Using your 1/2 cup measure add 1/2 cup of powdered sugar, mix and then add more as needed. I use about 2 cups worth of powdered sugar to get the right consistency.
To frost the cookies place a small dollop on top of the cookie and it should still have enough viscosity to gently spread out over the top of the cookie with the help of gravity.
This recipe is modified from a wonderful recipe found on the Pillsbury website.