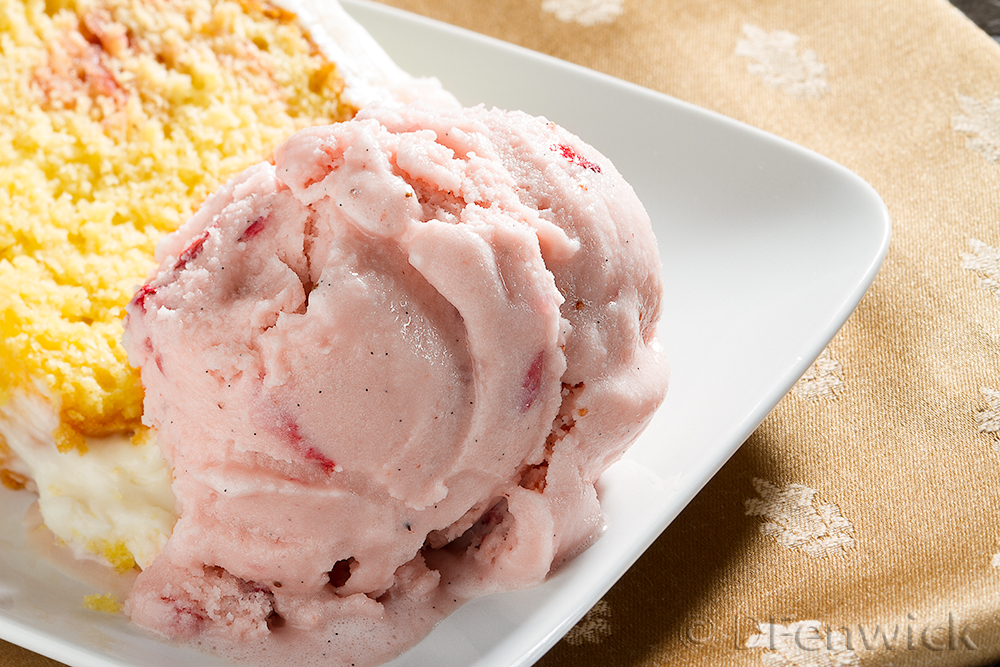
Strawberry Ice Cream
Sometimes you just have to give in to your urges, and today we succumb to ice cream’s siren song.
Homemade ice cream has been made so much easier with “modern” ice cream makers. Do you remember the ones we used way back when with rock salt, and hand cranked it? Well, today we can use electric ice cream makers and have our ice cream in about 30 mins of churning. So, let’s get cookin’!
4 cups Goat Milk or substitute 2 cups regular Whole Milk and 2 cups Half and Half
1 1/2 cups Sugar
6 fresh Egg Yolks
1 pound Strawberries
1 Vanilla Bean
Separate 6 eggs so you have 6 fresh yolks. (You can keep the egg whites for another project if you wish.) Beat the egg yolks in a bowl until smooth.
Hull the strawberries. Place 1/2 pound of strawberries and 1/4 cup of sugar into a blender and puree. Take the remaining half pound of strawberries and cut them into small pieces, add 1/4 cup of sugar, stir and refrigerate until ready to use.
Combine 2 cups of milk and 1 cup of sugar in 2 quart pot. Halve your vanilla bean and scrape out the seeds. Add the bean and the seeds to the milk mixture. Heat over low heat, stirring regularly, until the sugar is dissolved and milk begins to steam. Note: Do not leave milk on the stove unattended, if it boils over it can cause a fire.
Add half a cup to a cup of the milk mixture to the eggs, a little at a time. Whisk in the milk as you add it. Keep stirring and add only a little at a time. You want to temper the eggs, not make scrambled eggs. Once this is combined, add the egg mixture back into the hot milk, whisking to blend thoroughly. Cook until it begins the thicken and coats a spoon. Remove from the heat and pour through a strainer into a mixing bowl. Now add the remaining 2 cups of goat milk or 2 cups of half and half and then add the pureed strawberries. Blend well. Place the mixture in the refrigerator until chilled (a couple of hours at least.)
Once the mixture is cool, place in an ice cream maker and freeze per manufacturer’s directions. Once frozen, mix in the cut up strawberry pieces (do not add the juice, it will make the ice cream freeze strangely) and place in your freezer until firm.
For a variation, you can substitute any summer fruit for the strawberries.